First we need to download client
server version of BriskProject.
1. To start server, unpack it into separate directory and, go
to server directory and run server.bat, you should
have server running:

2. To start client, go to client directory and run client.bat,
you'll see this window were you'll need to fill the server address:
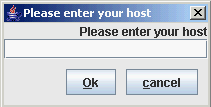
You should enter the address of the computer on which you have
launched server. If it is the same computer then you can enter
localhost. Please note that if you're behind
firewall - you should open port 1129.
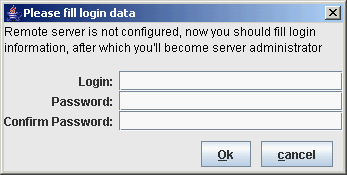
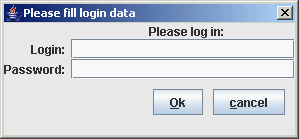
If it's the first connection to server, then you'll be asked
to enter a new login and password, which will became administrator's
login and password:
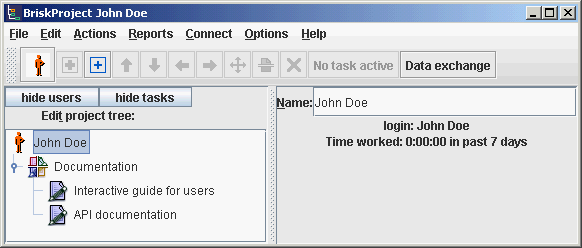
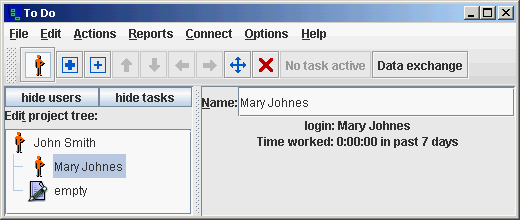
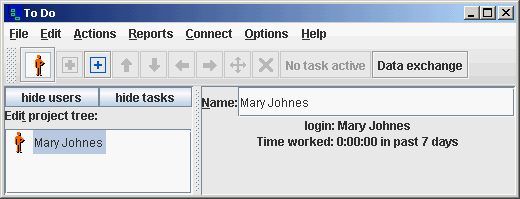
After filling that information you'll have this screen:
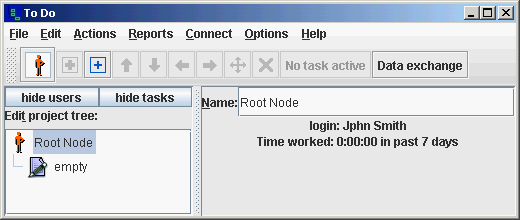
It has a Root User, and an empty task as example. Now you can
fill in your name, add subalterns and tasks.
To add a subaltern select the user, to which you will add, and
then click on "Add User" menu element or on toolbar
icon  then you'll have to fill username and password for new user, and
you'll have this:
then you'll have to fill username and password for new user, and
you'll have this:
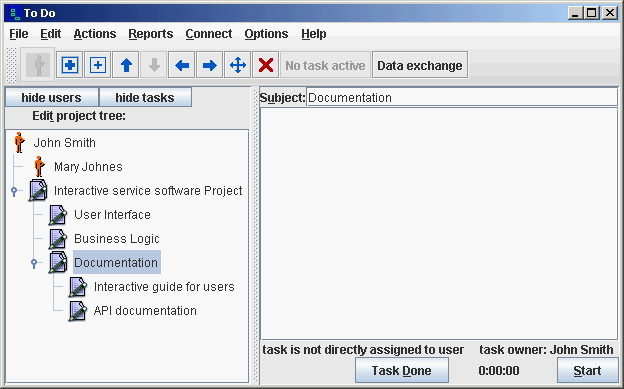
Let's create a project, divide it into smaller tasks and assign
some tasks to second user. To add a task click on user in the
tree panel and then click on this  toolbar icon. Then enter the task name, to add a subtask you
can just press the "Insert" key on the keyboard,
to add a task at the same level you can press the "Enter"
key. So now we have a project:
toolbar icon. Then enter the task name, to add a subtask you
can just press the "Insert" key on the keyboard,
to add a task at the same level you can press the "Enter"
key. So now we have a project:
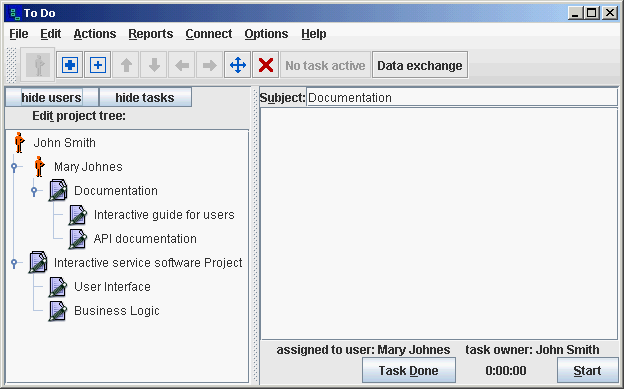
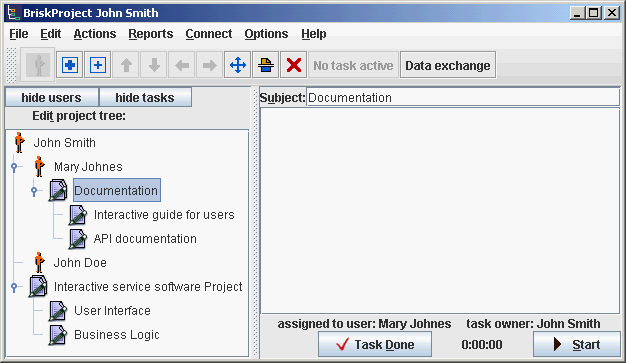
Now we can assign a part of the project to "Mary Johnes", we'll
do it by clicking on move icon  and select "Mary Johnes" as destination:

So now we have a project with part of it assigned to another
user:
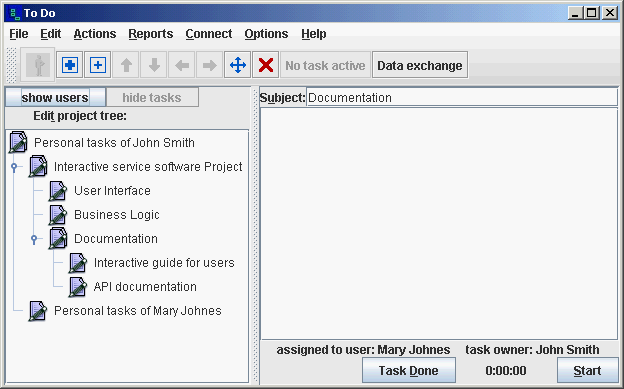
Please note that when we move a task to a user it still remembers
it's parent task, so we can still have a structured Project view
by clicking on "hide users" button on top of the tree:
Now second user can also start working, to do it, just unpack
BriskProject on another computer (you can do it on the same computer,
but in different directory) start client, by executing client.bat
and enter server address. After this if everything is
ok you'll be asked for login and password:
Now fill in login and password for user you have recently added,
you'll have this screen:
Note that now second user doesn't have any tasks, to receive
tasks, first of all first user must click on "Data
exchange" button and then second user must click
on the same button:

Please note that task icons now have another color, it is done
so that new or modified tasks will be instantly visible. When
you select one task, and view it for 1 second (this value can
be changed in options) it disappears:
When parent task has new children, it has special icon:

this icon becomes normal when you view all the new children of
that task.
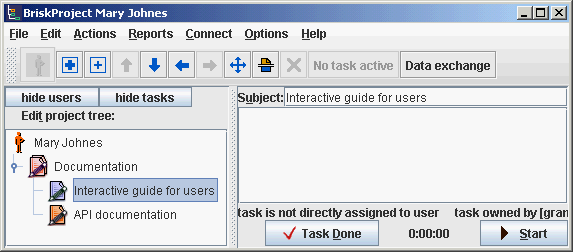
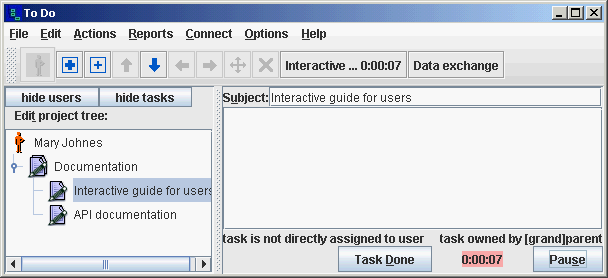
So let's select next task on which we'll start working and click
on "Start" button, you'll see that
task timer is highlighted with color and "Start"
button is transformed into "Pause"
button:
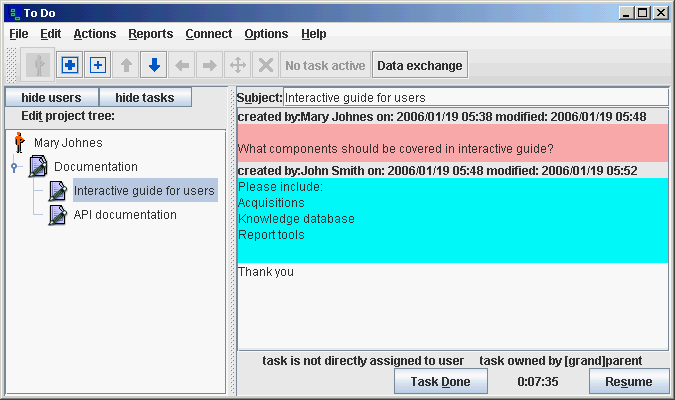
When second user accomplish the task he will need to click on the "Task Done" button, if he need to
pause task then "Pause" object must
be clicked and when returning to task click "Resume"
button.
You can ask questions, and leave notes in the notes field of the
task:
To monitor the progress you can use Reports, which will show
daily progress and will help you better monitor your project.
Shared tasks:
There are cases when one task should be done or monitored by
many users, here shared tasks can be used, let's go to root user
client, add one more user and select the task we wish to share:
Let's click on share button  and then select to share with the user we just added, we'll have
this:
and then select to share with the user we just added, we'll have
this:

And when we'll login with recently added user, after data exchange
we'll see: